Wednesday, March 11, 2015
Agile Retrospectives a Rising Patton Fusion
Note: This retrospective works nicely using index cards that can easily be sorted and grouped around a common table. If you are using walls and stickies, you can adapt where required.
Step 1 - Set the tone:
Recite Norm Kerths Prime Directive (Linda was able to recite this by memory):
"Regardless of what we discover, we understand and truly believe that everyone did the best job they could, given what they knew at the time, their skills and abilities, the resources available, and the situation at hand."
After reciting, ask each team member one by one if they agree to uphold this statement during the meeting and to avoid blame. A simple verbal "yes" indicates agreement. The verbal agreement is a simple influencing strategy or pattern that helps set the tone for the retrospective.
Step 2 - Framing the Retrospective:
The facilitator tells a story of a co-worker meeting you in the hallway of your company. The co-worker asks: "I know you were on project [X], how was that?". Each person responds with "It was great because...". Instead of speaking the answers out loud, give each person 3 index cards and have them write their answers down in silence. This allows input from each person regardless of personality type and keeps your team members answers from influencing your own.
When each person has filled out their 3 cards, they read each one out loud and place them on the table. Once all cards are on the table, ask the group to silently group the answers together. Cards that are similar should be close to one another and cards that are different should be farther apart. According to Patton, the simple reason for doing this in silence is because it allows the work to happen quickly and without much discussion. In our exercise, we found this to be true.
Now that the good things are grouped together, take a different coloured index card and have the group summarize each grouping with a new card. For example, summarizing items like "team worked well together", "Bob collaborated to help me with my task", "Team rallied to complete the stories together" might be summarized with a card called "Great team work".
Step 3 - Do Differently:
Now that we have acknowledged the good things about the last period, remind the team that it is only a perfect project if they would do that project or iteration again in exactly the same way. In reality there is always something we would do differently. Ask the team to silently fill out 3 more index cards with what they would do differently. They may not write cards that associate blame, describe what wrong, or try to problem solve. In this part of the retrospective we are only identifying what we would do differently.
Once everyone has completed their cards, we again read them aloud as we place them on the table, group the cards in silence, and summarize with a different coloured index card. As the cards are read or summarized, the facilitator may need to remind the team to refrain from problem solving or directing blame.
Step 4 - Voting:
The next step is for the team to agree on which items on the "Do Differently" list are the most important. To keep the voting impartial and independent, have each team member write their top 3 items on an index card and hand the cards to the facilitator. The facilitator then tallies the votes and records the totals on the summarized cards. An alternative is to use dot voting, but Ive found that dot voting can be gamed too easily and that initial dots influence those who vote later (group think).
Step 5 - Experiments:
Using the top 1 or 2 voted items, ask the group to split into groups to discuss them - 1 group per item. Instruct the groups to discuss small experiments or tweaks that the team could try in the next iteration. If you practice frequent retrospectives, this discussion does not need to be about problem solving or even root cause analysis. The goal is to quickly agree on small experiments to try to resolve the issue you are discussing. For those dedicated to root cause analysis this may be a problem, but give it a try and do what works for your team while avoiding blame or delving deep into problem solving. This part should be time boxed to 10 or 15 minutes maximum.
After deciding on the experiments, have one person from each group present the idea to the group. This idea needs to be included in the backlog for the iteration and the team (not an individual) commits to completing the experiment during the iteration and examining the results.
Step 0 - Review Experiments:
At the beginning of the next retrospective, add a new step at the beginning to discuss your experiments to see how effective they were and use this information as input into future experiments.
Other notes:
If you are doing a retrospective for a larger period of time, then consider starting the retrospective by building a timeline of events. For more info, check out this blog: http://www.thekua.com/rant/2006/03/a-retrospective-timeline/
Thanks Linda and Jeff for sharing your methods and ideas.

Monday, March 9, 2015
How about inline slideshow with a nice pop up gallery
What I (my client) wanted was a gallery that is inline as slideshow (with custom effects) and then as you click on the image, it enlarges into more-or-less full-screen or something like it.
Now amazingly I havent found any to be complete like that. Either theyre inline excellent slideshows without "popup-zoomin", or theyre amazing galleries that work from thumbnails (meaning static photos in the page). No fancy-wow-ough-yeah gallery covers the thing as:
1. inline slideshow (not thumbnails)
AND 2. pop-up (zoom-in or whatever) gallery (that has the controls of forward, backward,... and effects,...).
So after a month (or three months?), a combination of 2 scripts seems to somehow provide the best option:
1. Jquery cycle
2. prettyPhoto
With 1st, you put in images in 1 div and cycle through them with several effects. Nice, simple to plug in.
< div id="PhotosScrolling" >
< img1... />
< img2... />
< img3... />
< /div >
With 2nd, you just need to put some links over those imgs, so the final html looks like this:
Tuesday, March 3, 2015
Was The DNA of a 21st Century Educator Plagiarised in China
- Scribd
- SlideShare
DISCOVERY
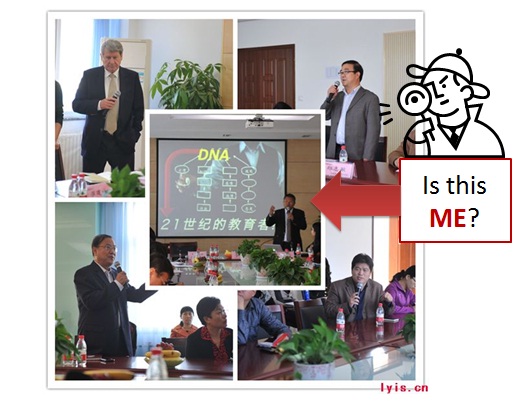
The last time I looked in a mirror, I certainly didnt look like that! However, the DNA slide looks familiar. Oops, it looks like a slide from my DNA of a 21st Century Educator (Version 2) presentation. Awesome! Someone in China has translated my slide, and is sharing it with a group of local and international educators attending a conference (or seminar) exploring the future of education at the Luoyang International School (17 Oct, 2012). Here is another picture that reveals a bit more about this event: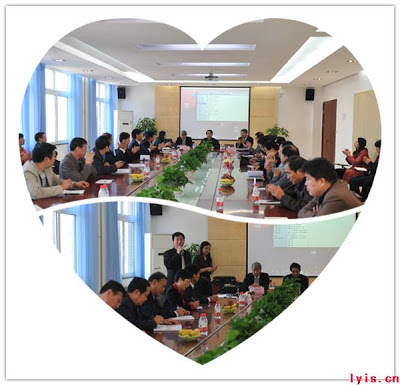
So, whats the problem here?
THE STORY
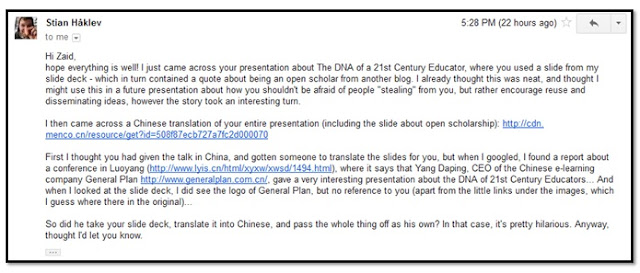
- Chinese Translation of my presentation
- Report about the conference (Luoyang International School)
- Company: General Plan
WOW! Thanks, Stian for sharing this Pretty Hilarious news with a CSI kind of reporting of the event. Initially, I thought this whole thing was really cool, and I was kind of thrilled that someone would actually go to such lengths to reuse and translate slides that originated from me (WOW, the slides must be really good!).
THE CASE
Since, the Chinese version was presented on the 17 October (2012), we can presume based on existing evidence that I am more likely the author.
SLIDE-BY-SLIDE
Here we go:
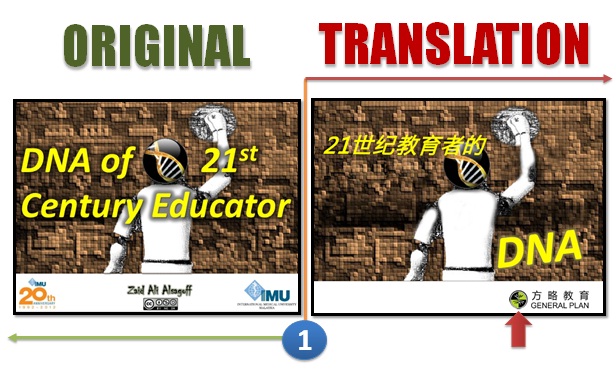
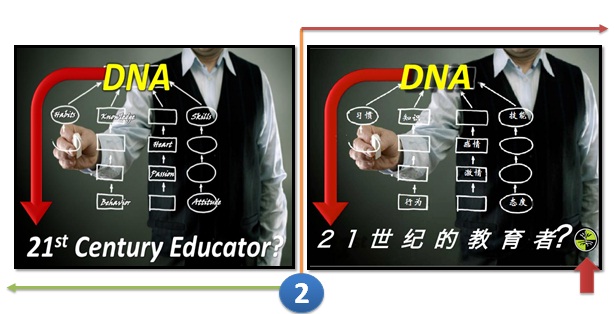
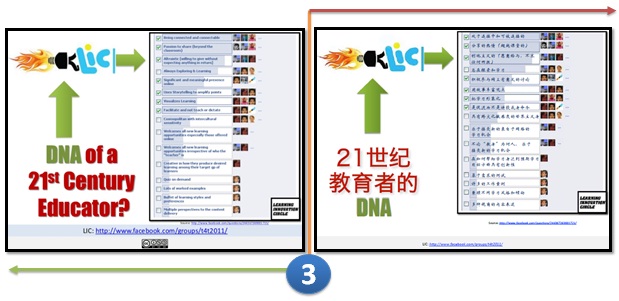
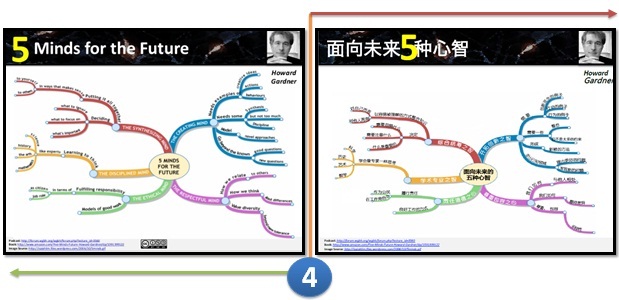
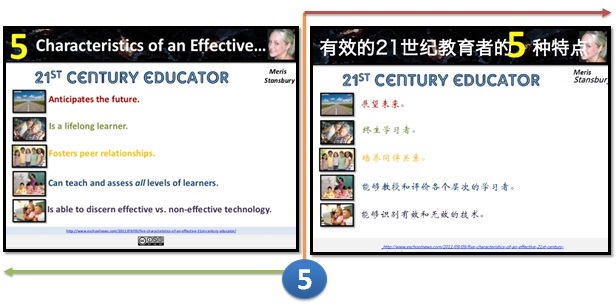
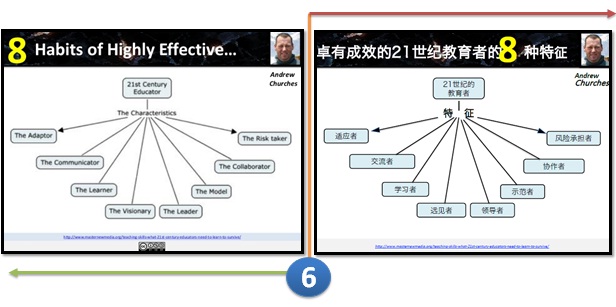
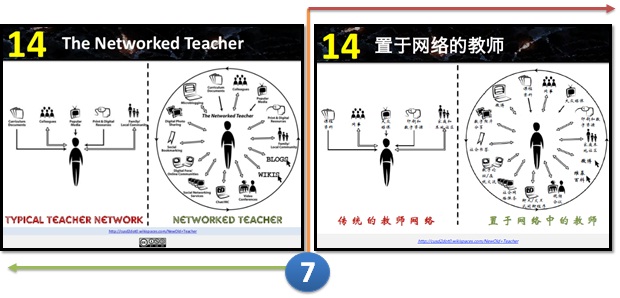
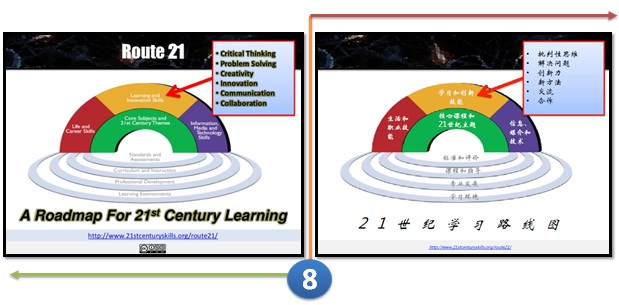
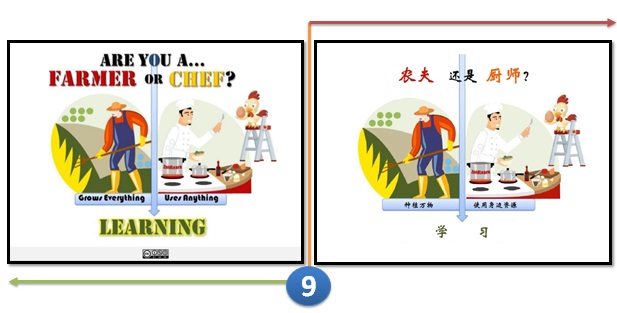
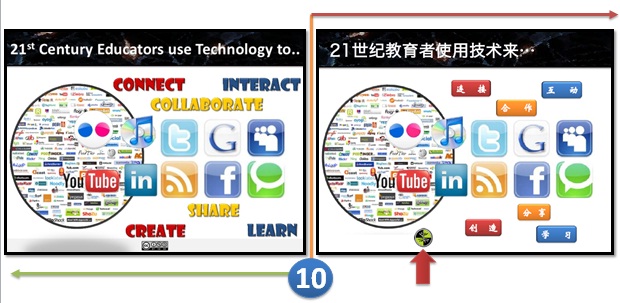
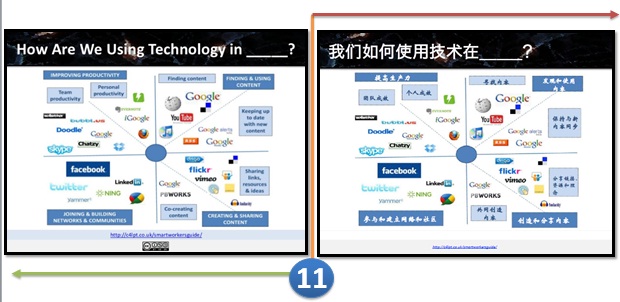
Jane Hart, congratulations for getting your slide translated!
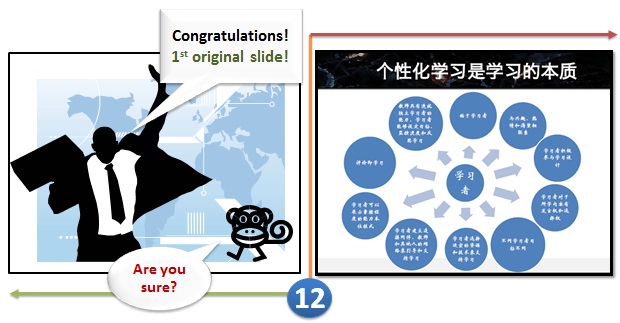
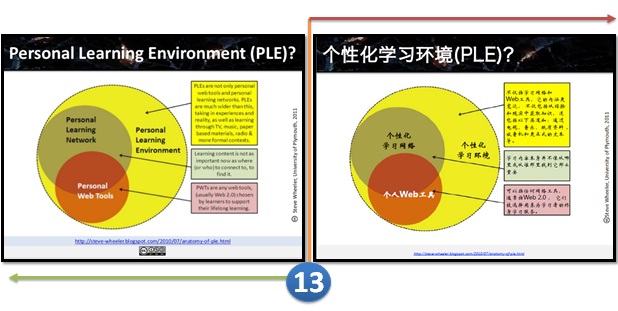
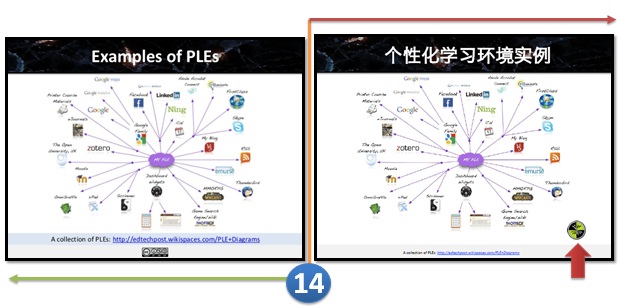
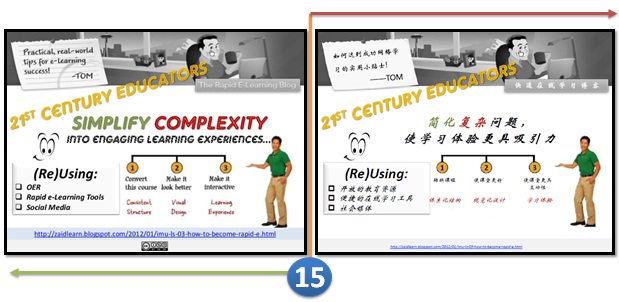
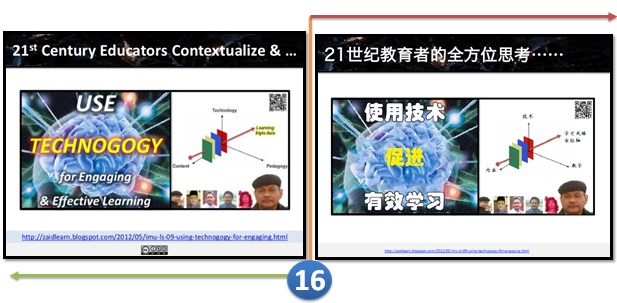
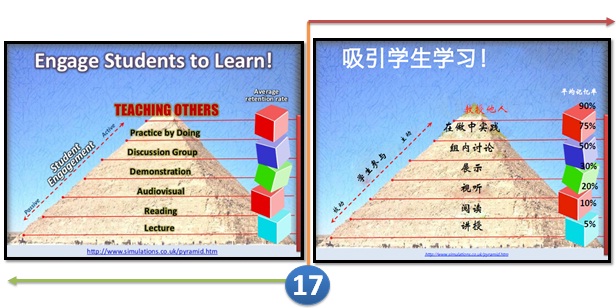
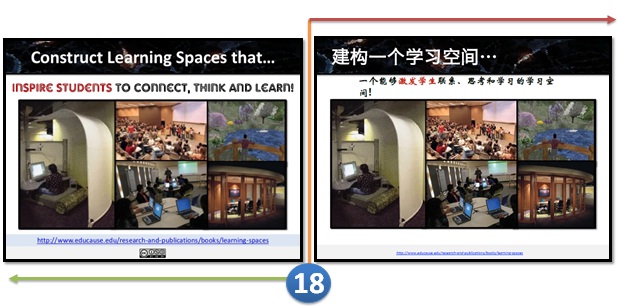
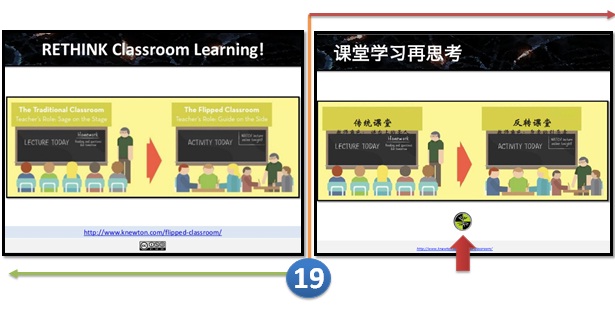
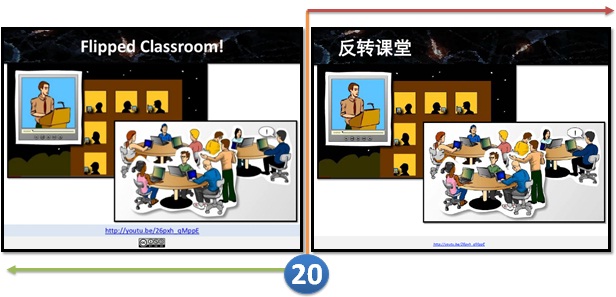
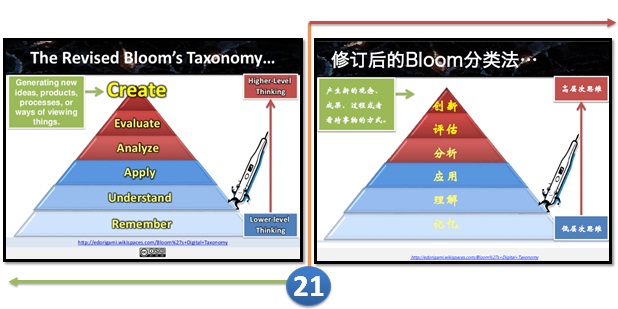
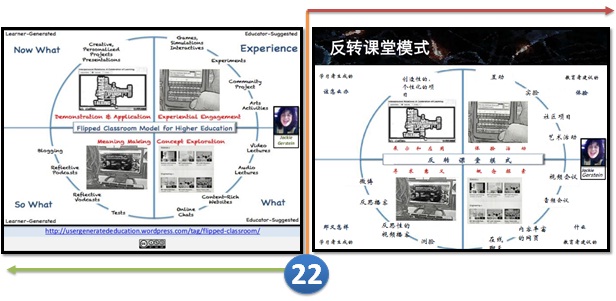
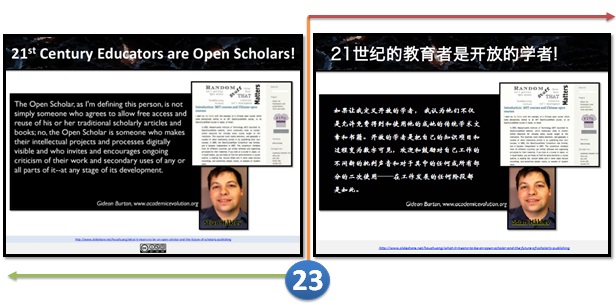
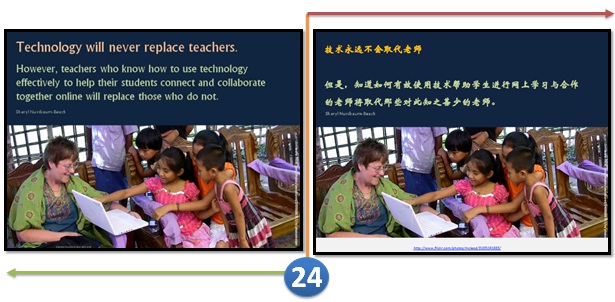
No comment!
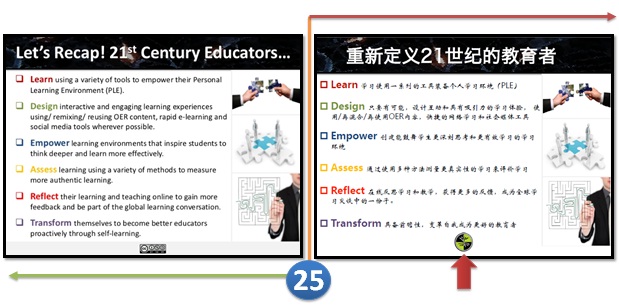
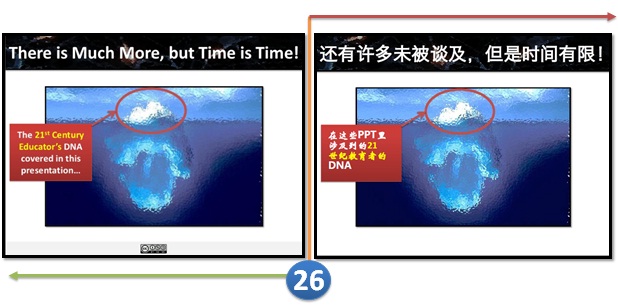

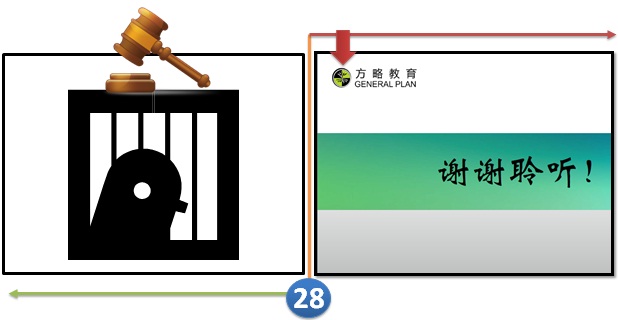
Is this a case of Plagiarism? Please share your views.
MY CASE VERDICT
More importantly, didnt you realize that this presentation has been published under a Creative Commons license (Attribution - NonCommercial - ShareAlike or CC BY-NC-SA) empowering anyone for free to reuse and remix for non-commercial reasons with attribution. Most of my learning articles, presentations and artifacts since 2008 have been published with such a license, and hundreds of educators around the world have been reusing or remixing them as they like (with attribution), and that is one major reason why I love to share.
However, when a person representing a corporate e-Learning company (General Plan) literally takes my presentation (or 26 slides from it), and presents it at a conference (translated version) without giving any credit (at least on the slides). And then has the cheekiness to put his company logo, and even delete the Creative Commons license from all the 26 slides translated, is something that I find really unacceptable.
It might be flattery (to some), but it is also totally against any principles of professionalism (that I know of).
The best way (in my opinion) to deal with people with such integrity and professionalism is to expose them to the world and remind others that doing such things are not worth the risk.
Monday, March 2, 2015
WiZiQ A Free Virtual Classroom Tool!
- WiZiQ + Live Class Module for Moodle
- YouTube: WiZIQ - The Free T&L Platform
- Via Patricia Donaghy

WHAT? On WiZiQ educators and learners can connect live anywhere in the world from home using this FREE virtual classroom software. Inside the virtual classroom you share an interactive synchronized collaborative environment where you can communicate with each other on one-to-one basis using microphone, chat and share whiteboard (similar to blackboard in the classroom), presentation and documents.
FEATURES?
WiZiQs virtual classroom features include:
- Two way audio
- Text chat
- Multiple participants
- PowerPoint & PDF sharing
- Whiteboard
- Media files like gif, jpg, swf, png etc.
- All sessions are recorded
- Only you have access
- Review them later
LATEST UPDATE!
The free Live Class module for Moodle is now available. Moodle users can activate a block and an activity from within Moodle to schedule and launch sessions in WiZiQ’s virtual classroom.
Click here for detailed instructions on how to install it, which includes video tutorials.
REFLECTION
No annoying downloads are required, and WiZiQs Flash-based learning environment works in any web browser and on any operating system. Multiple choice WiZiQ tests have, recently, been also added to the site. In addition, free public sessions are offered on an ongoing basis and recorded completed sessions are available for viewing.
"In future, we will offer certain advanced features on WiZiQ for a monthly subscription fee. However, basic features on WiZiQ will always be free (Source)." Lets hope that also PowerPoint (or file) sharing and multiple participants (say up to 40!) will always remain free.
I have been waiting for years for a free easy-to-use Flash-based virtual classroom (synchronous learning) tool, which also has PowerPoint or file sharing capability. So, Patricia you have certainly made my day with that great news!
I suppose all the commercial virtual classroom alternatives (Centra, Adobe, WebEx, etc.) will increasingly need to be more creative about making revenue, at least in the education sector. Yeah, very soon Yahoo, Google and MSN (Why not add Facebook, too!) will have their own virtual classrooms with such capability, too.
WiZiQ thanks for initiating the battle for virtual classroom freedom, enabling all educators and learners around the world (with computers and Internet access) to synchronously collaborate, communicate, and learn online for free. I am surprised that Google and the Gang did not think of it before.
Yeah, now we can even integrate WiZiQ with Moodle as an Activity Module! This is the one learning tool really missing in Moodle! WiZiQ to the rescue! I love it :)
Sunday, March 1, 2015
How to Embed a Video in Smart Notebook!

Heres the poll for anyone interested!


Dont you just love when theyre short and sweet?

I do plan on adding some other Smart Notebook Tutorials in the future, but in the meantime I want to add a Microsoft Word/PowerPoint option... how to make any font into an outline!

Friday, February 27, 2015
How to Print Anything at a Smaller Size!
So... time to show you how to print anything at a smaller size!

Before I go into the poll and the tutorial, do you see the ADORABLE product in my preview? Well... its fabulous and its free from The Primary Gal! Shes relatively new to blogging and TPT so head over there and give her some love!

Now, for the poll! This was clearly the winner but the other options were definitely contenders!

And of course, heres the tutorial! Step 1 mentions that its easiest to do this with a PDF, so if youre not sure how to make a PDF, be sure to check out my previous tutorial below!

The steps are slightly different on Mac and PC so I did two separate write ups!


As for next weeks poll, Im going to add how to make a customized search so that it only searches specific websites... this is perfect for research projects!
Thursday, February 26, 2015
How to Make a Bunting Banner in PowerPoint!

More than half of you voted for this in the polls!

Now, onto the tutorial!


I am printing that bunting banner first thing tomorrow morning! I love how it looks!!!
For next weeks poll, Ill add how to use/open QR codes. I figured this would be a good prerequisite for how to make your own QR codes!