Saturday, January 31, 2015
Android beginner tutorial Part 37 Graphics in GridView
First of all, well need to prepare some sample images. I put 4 images called sample1.jpg, sample2.jpg, sample3.jpg and sample4.jpg in the drawable-hdpi folder of my android project.
Once thats done, we can use them in our application.
Start by creating an Activity with a GridView:
<LinearLayout xmlns:android="http://schemas.android.com/apk/res/android"
    xmlns:tools="http://schemas.android.com/tools"
    android:layout_width="match_parent"
    android:layout_height="match_parent"
    android:orientation="vertical"
    tools:context=".MainActivity" >

<GridView
    android:id="@+id/grid"
    android:layout_width="fill_parent"
    android:layout_height="fill_parent"
    android:verticalSpacing="35dp"
    android:horizontalSpacing="5dp"
    android:numColumns="auto_fit"
    android:columnWidth="100dp"
    android:stretchMode="columnWidth"
    android:gravity="center"
    />

</LinearLayout>
To display images in a GridView, well need to create a custom adapter class. We will extend the BaseAdapter class and call our new custom class ImageAdapter.
If youre using Eclipse IDE, go to File > New > Class. Create the new java class, and use this code:
package com.kircode.codeforfood_test;

import android.content.Context;
import android.view.View;
import android.view.ViewGroup;
import android.widget.BaseAdapter;
import android.widget.GridView;
import android.widget.ImageView;

public class ImageAdapter extends BaseAdapter {


    private Integer[] mPictures = {
    R.drawable.sample1, R.drawable.sample2,
    R.drawable.sample3, R.drawable.sample4,
    R.drawable.sample1, R.drawable.sample2,
    R.drawable.sample3, R.drawable.sample4,
    R.drawable.sample1, R.drawable.sample2,
    R.drawable.sample3, R.drawable.sample4,
    R.drawable.sample1, R.drawable.sample2,
    R.drawable.sample3, R.drawable.sample4,
    R.drawable.sample1, R.drawable.sample2,
    R.drawable.sample3, R.drawable.sample4,
    R.drawable.sample1, R.drawable.sample2,
    R.drawable.sample3, R.drawable.sample4
    };
    private Context mContext;

    public ImageAdapter(Context c) {
        mContext = c;
    }

    public int getCount() {
        return mPictures.length;
    }

    public Object getItem(int position) {
        return mPictures[position];
    }

    public long getItemId(int position) {
        return mPictures[position];
    }

    // create a new ImageView for each item referenced by the Adapter
    public View getView(int position, View convertView, ViewGroup parent) {
        ImageView imageView;
        if (convertView == null) {  // if its not recycled, initialize some attributes
            imageView = new ImageView(mContext);
            imageView.setLayoutParams(new GridView.LayoutParams(85, 85));
            imageView.setScaleType(ImageView.ScaleType.CENTER_CROP);
            imageView.setPadding(10, 10, 10, 10);
        } else {
            imageView = (ImageView) convertView;
        }

        imageView.setImageResource(mPictures[position]);
        return imageView;
    }
}
The logic behind the code is simple, the important part is to include everything the class needs to function properly. Note that we declare the array of pictures in the class itself, and then use an ImageView to display each item. If the ImageView object already exists, we reuse it.
The code of MainActivity.java class is simple too - just apply the adapter to the grid. The only unusual thing here is the passing of getApplicationContext() value to the ImageAdapter constructor.
package com.kircode.codeforfood_test;

import android.app.Activity;
import android.os.Bundle;
import android.view.Menu;
import android.widget.GridView;

public class MainActivity extends Activity{

private GridView grid;

@Override
protected void onCreate(Bundle savedInstanceState) {
super.onCreate(savedInstanceState);
setContentView(R.layout.activity_main);

grid = (GridView)findViewById(R.id.grid);

ImageAdapter arrayAdapter = new ImageAdapter(getApplicationContext());
grid.setAdapter(arrayAdapter);
}

@Override
public boolean onCreateOptionsMenu(Menu menu) {
// Inflate the menu; this adds items to the action bar if it is present.
getMenuInflater().inflate(R.menu.activity_main, menu);
return true;
}

}
The results look like this:
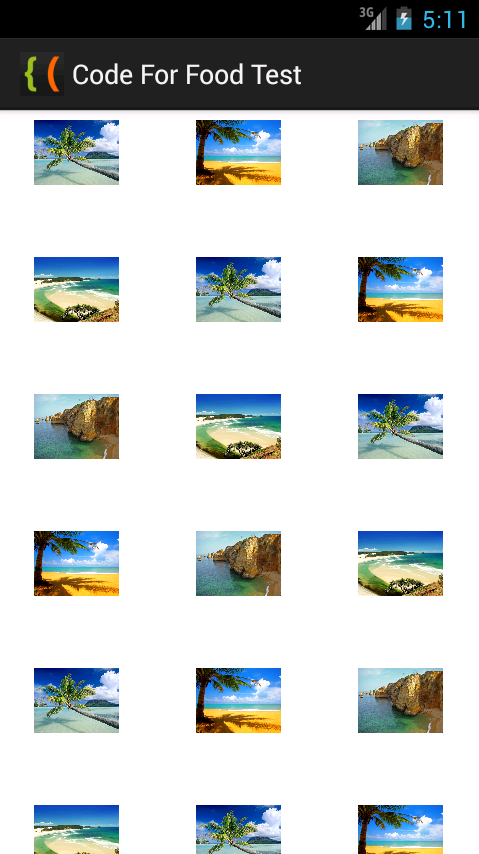
Thanks for reading!
Subscribe to:
Post Comments (Atom)
No comments:
Post a Comment
Note: Only a member of this blog may post a comment.